When displaying Power Point slides to display on screen, it’s common you may wish to have the slides automatically progress to the next slide after a few seconds.
This is called “Auto Advance” although this is not something that can be controlled by VuePilot directly instead this is a setting that must be configured within your Power Point file its self.
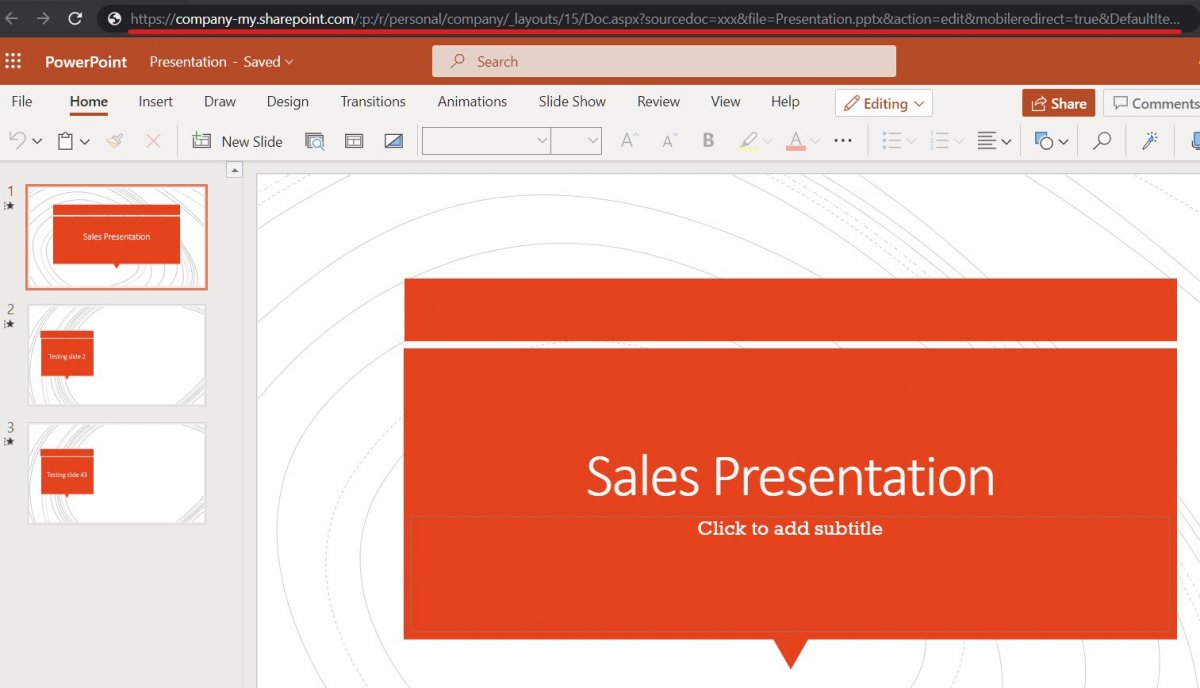
Microsoft also does not allow this to be configured via the online Office 365 interface for some reason, it can only be enabled via the full desktop Power Point software.
For this reason, we recommend a much more reliable method by exporting your Power Point presentations as a PDF and creating a slide show using the instructions found here
If you prefer to take the Power Point route, here’s a quick guide on how to do it
Configure Auto Advance
- Edit the file in the desktop software version of PowerPoint (not the web interface)
- Click on the Transitions Tab
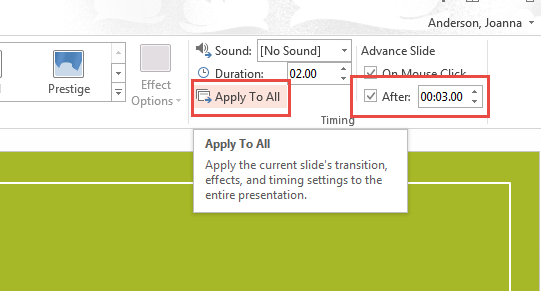
- On the Advance Slide, click “After“
- Set the interval of which you wish to change the slides (10 seconds for example)
- Click “Apply To All“
Configure The Slide Show To Loop
- Click the Slide Show tab From the “Set Up” group, click “Set Up Slide Show“.
From the resulting dialogue box, check “Loop continuously until Esc‘” under the “Show options” section, Click OK - Save your file and resync with PowerPoint 365

