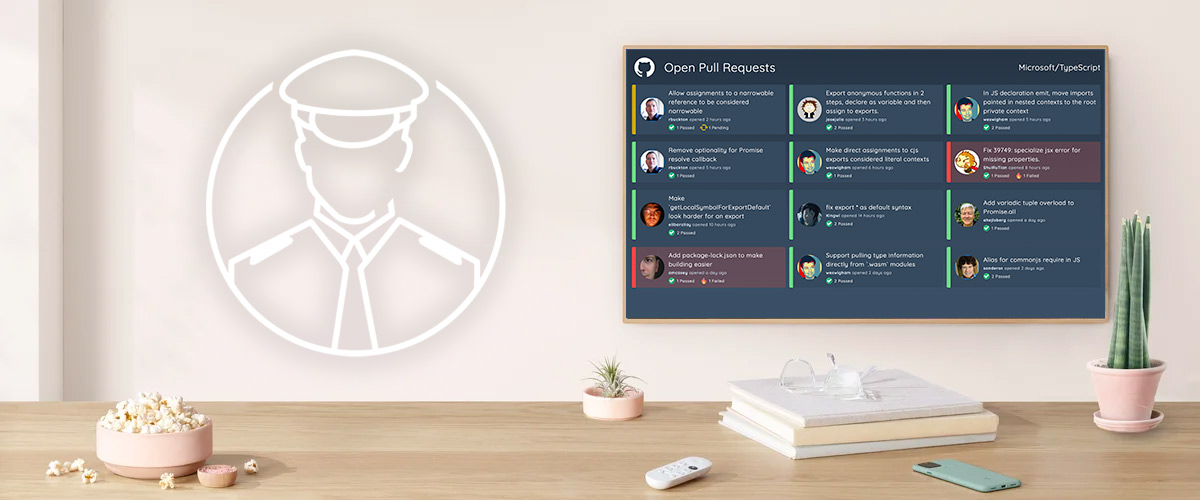
Use your existing Android TV / Google TV or purchase a Chromecast with Google TV device to display information such as dashboard, clocks, images and video on screens in your business with VuePilot and the VuePilot Player for Android TV
Why Use Android TV / Google TV?
Many consumer televisions come by default running theAndroid operating systems which allow the installation of apps from the Google Play Store. This means you can install and run the VuePilot Android app to display your dashboards and information in your business without the need to purchase additional hardware such as a PC, Mac or Raspberry Pi.
Aside from cost savings there are no ugly wires, cables or boxes required to be attached to your screens as you can either install the software directly on the TV or onto a small Chromecast with Google TV device that neatly hides behind the TV screen.
Google Chromecast & Streamer TV Devices
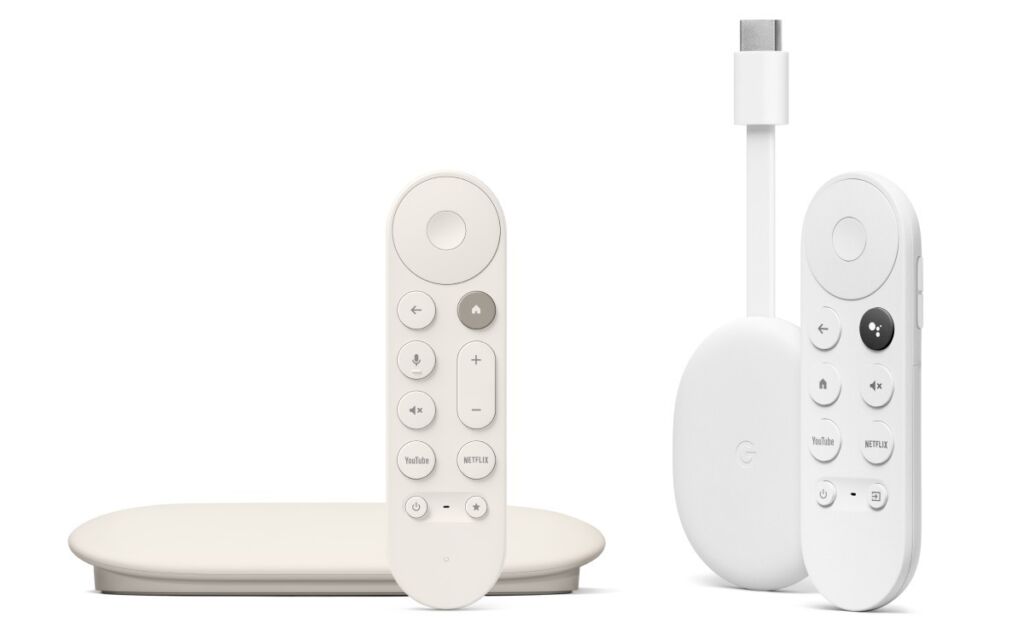
If you do not have an Android or Google powered TV you can purchase the small and powerful Chromecast or Google Streamer with Google TV device from most major retailers for a very reasonable price.
The Google Chromecast is the smaller lower power device that connects directly to the TV and was replaced by the more powerful Google Streamer TV box. Both devices run the same Google TV operating system and can be used with the VuePilot software.
These devices come with a remote control which can be used to input login information and activate the software.
The VuePilot app will also respond to remote control commands to play, pause and skip next and go backwards during rotations.
We highly recommend using the 4K variant of the Google TV streamer device as it has more memory for heavy web operations which can be purchased from Amazon here
PLEASE NOTE: Only newer Chromecasts (white ones) running Google TV can install the VuePilot software. The older version 1 and version 2 Chromecasts (black ones) cannot install apps and cannot install the VuePilot software.
Installation & Setup
Installation of VuePilot onto your Android TV / Google TV device is simple and is much the same as installing an app on your phone.
Activating the software is the same as you would normally do with any other VuePilot player.
Step 1: Change Your Devices Name (Optional, but recommended)
When you install and activate the VuePilot software, your license will register the device on the VuePilot dashboard by the name of the device.
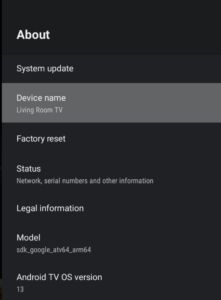
By default this will be called something like “Android TV” or “Living Room TV” however if you have multiple devices you will need a unique name for each device so you can know which is which.
Change the devices name to something more meaningful such as “Sales Department TV” or “Common Area TV” etc before activating your license.
You can change your devices name by doing the following
- Press on the Gear icon in the top right hand corner of the screen
- Press “Device Preferences”
- Press “About”
- Press “Device Name”
- Press “Change”
- Change your devices name here
Step 2: Install The App
From your Android TV / Google TV visit the App store and search for “vuepilot“.
Select and install the result named “VuePilot Player”
(Please note, the VuePilot Player will not appear on search results from your phone or tablet, only an Android / Google TV device)
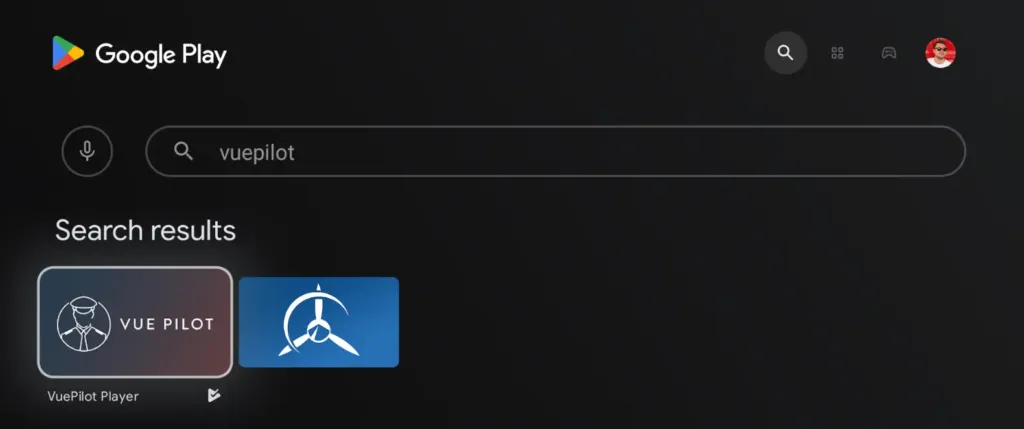
The VuePilot Player app will now be available within the “Apps” section on your home screen of your device.
TIP: You can press and hold your remote centre button on the VuePilot Player tile to show options, we suggest moving the tile closer to the left side of the screen for easier access.
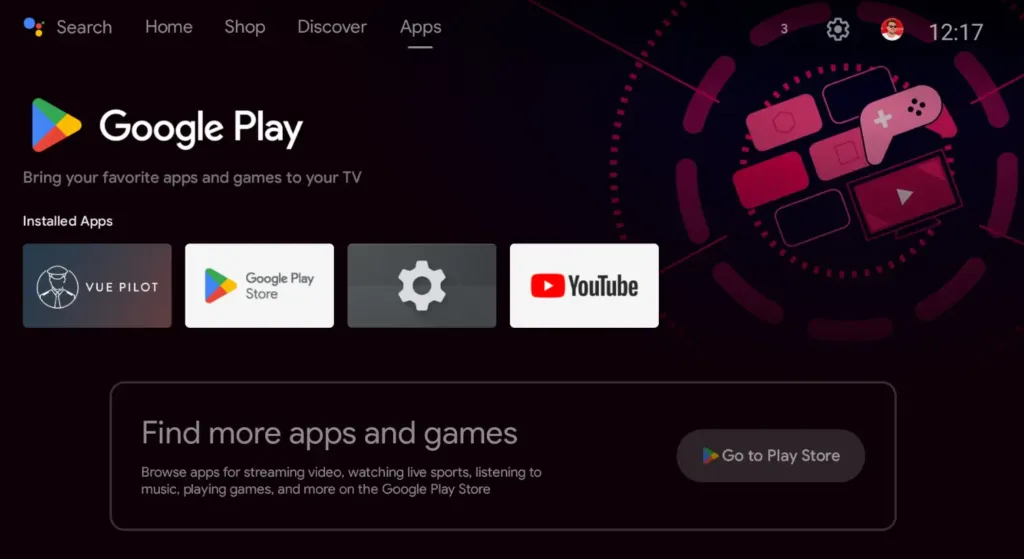
Step 3: Activate Your License
Open the VuePilot app and you will be greeted with an activation screen prompting you for an activation code.
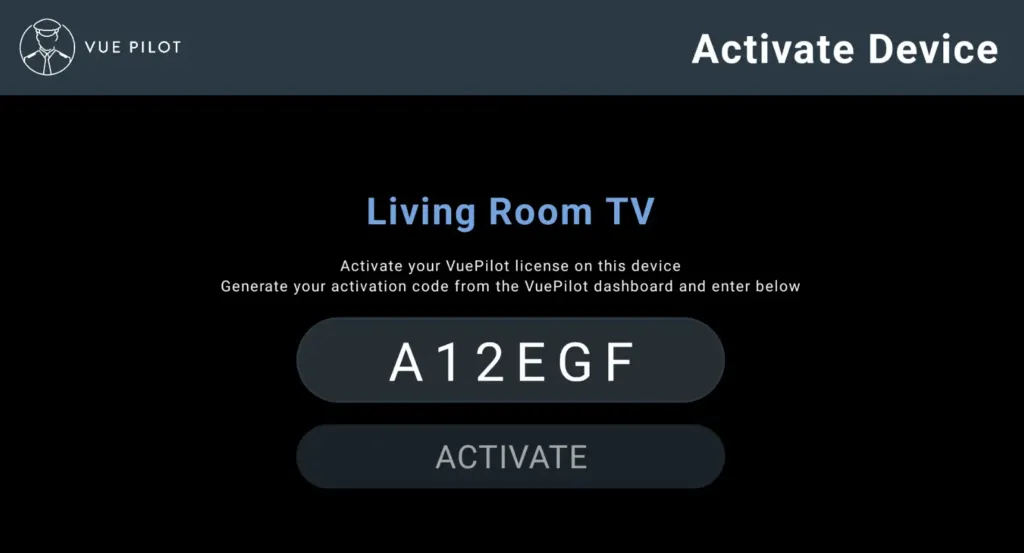
You can generate the activation code from the dashboard on the VuePilot website. Simply login to your account and if you are a new customer, you will see the getting started screen, of which you can click the”Get Activation Code” button, if you are an existing customer you can click the “Generate Activation Code” from the machines page on your dashboard.
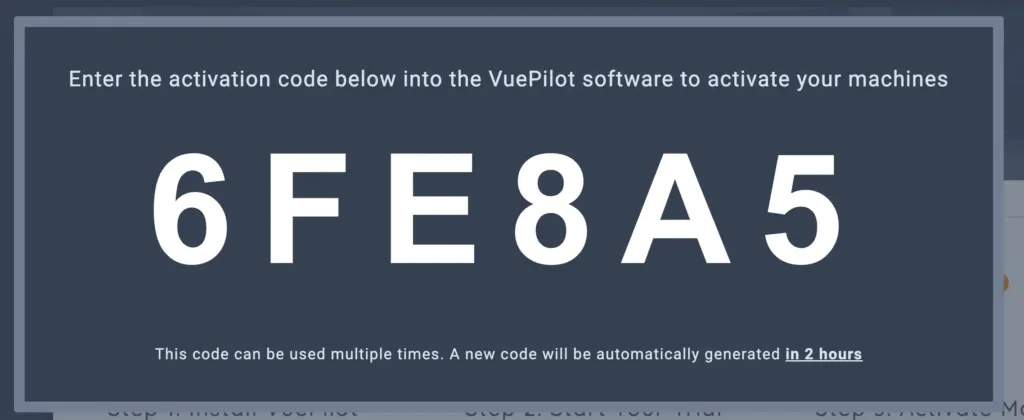
Type this code into the input box using your remote control and press “Activate”
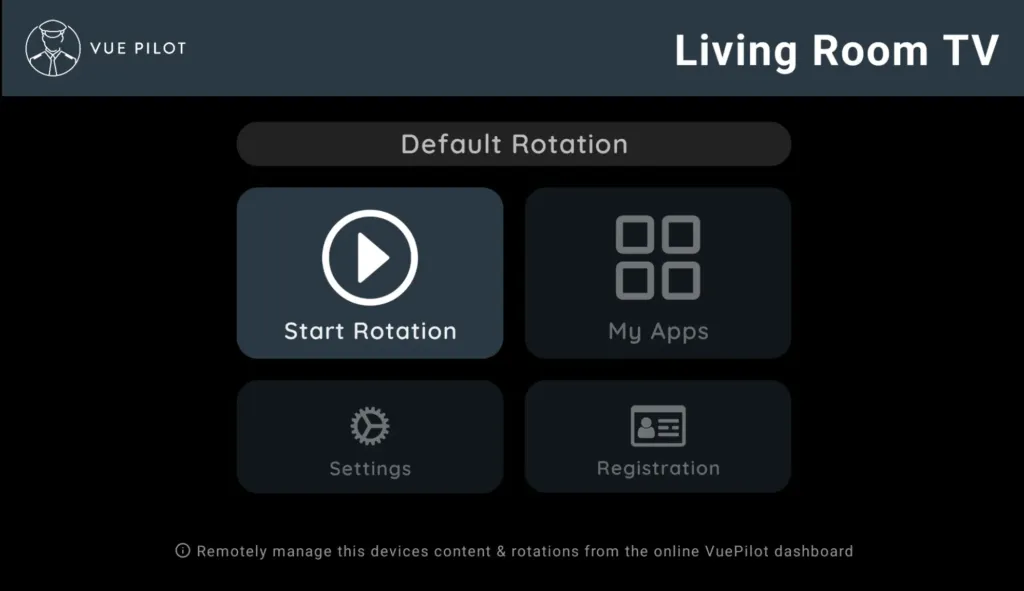
Step 4: Manage Your Devices Content Online
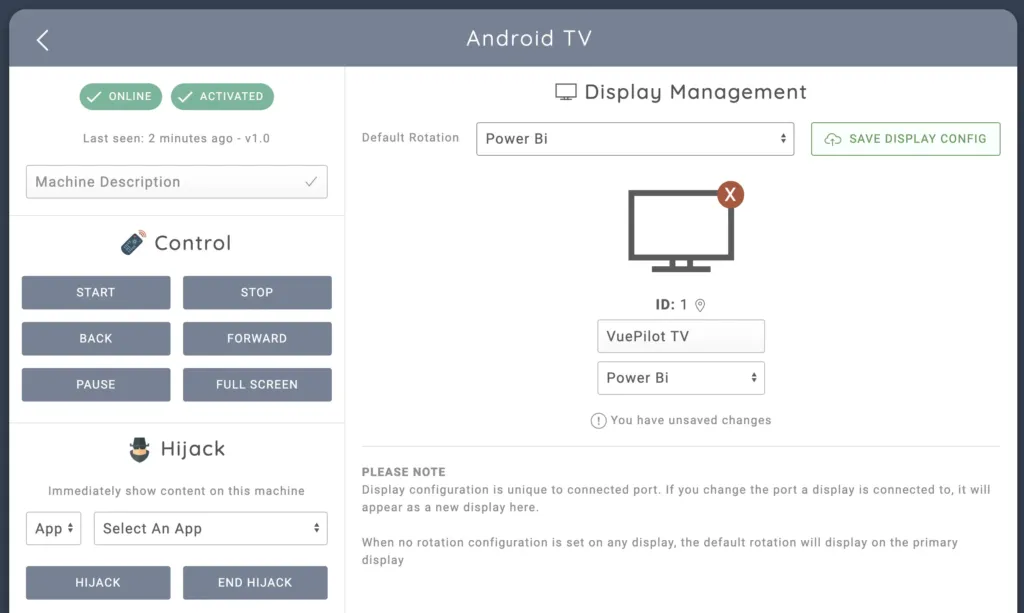
Once you have activated your device, you can now control it from the online VuePilot dashboard, you no longer need to use the TV remote to manage rotations. You can of course use the remote control directly if that is more convenient, however you can manage multiple devices at once from the online dashboard.
Return to the VuePilot website dashboard and create your apps and update your rotations from there.
You can assign rotations and display content immediately on this device from the machines management page.
Simply visit the machines page and then click into your devices management page.
FAQ
I have an older Chromecast device, can I use this app?
No, the original Chromecast devices and TVs do not allow you to install apps. You must be using an Android Google TV device with an interface that looks like the above screenshots. We do not support “casting” content, this app is installed directly on to the new devices.
If you are unsure which device you have, if you need to use your phone or computer to “cast” content to your screen rather than navigating through the Google interface as shown above with a remote control, then you are using an older unsupported device.
I cant find the app in the Play Store
You must use be viewing the Play Store from your Google TV device (not casting from your phone or PC). The app is only available on Android & Google TV devices and will only appear on app stores on those devices.
Do I need to buy a different license to use this app?
No, your existing VuePilot licenses are valid to be used on your Android / Google TV devices.
How can I make the VuePilot app start automatically when my device starts?
There is no way to do this directly. It’s not an option with the Google TV operating system, there is however a 3rd party app that will allow you to do this called Projectivy Launcher https://play.google.com/store/apps/details?id=com.spocky.projengmenu
This app will allow you to override the start up behaviour of your device and start VuePilot when the device turns on.
Please note we do not provide support for this app as it is not our product. It is simply a suggestion you can try if this is a requirement for you that we know customers have been using.
Troubleshooting
Please refer to the following article for more information on troubleshooting

